# Publication
Now that your project is ready, all that remains is to publish to a server of your choice.
The steps are the same as you would in any publication in Scriptcase (opens new window), but still so we will show you how to do this task in the best way.
# Choice of Applications
Before starting the publishing process, make sure the project is fully generated.
To do this, go to the Project menu and choose the option Generate source code.
After this step, you should now actually start publishing.
Access the Project menu again and choose the option Deploy Project.
Choose the All option in the application selection.
In the type of publication, you must pay attention to the environment in which your project will be published.
If you are publishing the project for the first time or in a new directory, choose the option Typical (recommended) because this option automatically configures the necessary directories for the operation, taking the entire production environment with it.
If you are, for example, in an already published environment or in a directory that already has a production environment, preferentially choose the Advanced option because it allows an explicit configuration of directories during publishing.
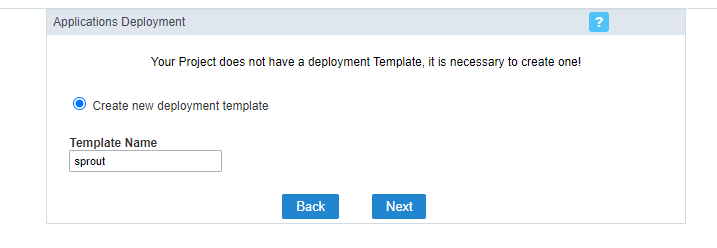
Advanced Publishing also allows you to create a template, greatly facilitating your productivity while publishing.
# Typical Publication
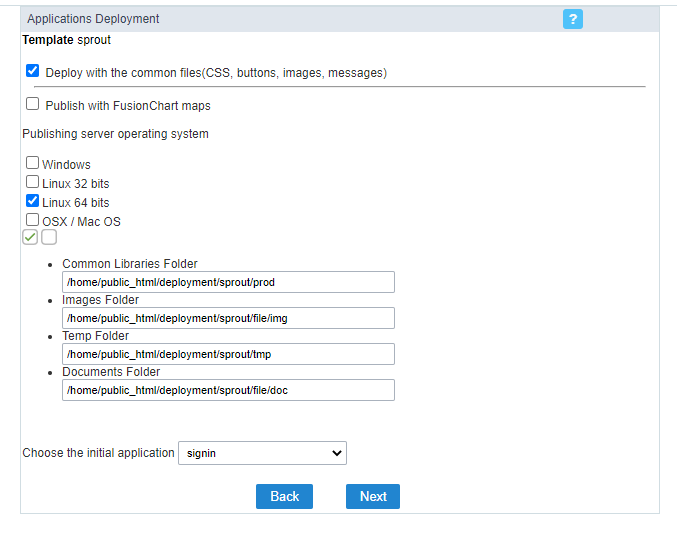
The first necessary step of the typical publication is to choose the operating system and initial application, in the case of Sprout choose the Sign in application.

Note: It is not necessary to check the FusionCharts Maps option.
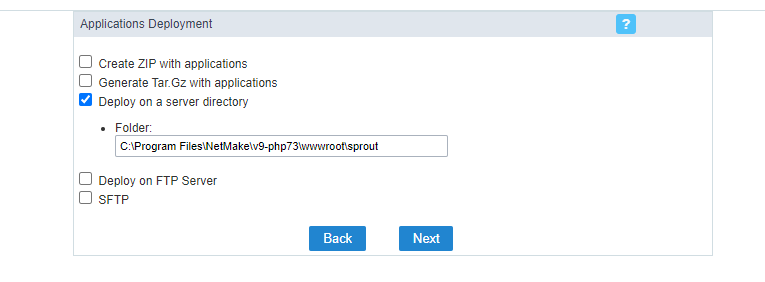
The next step is to define the publishing directory.
After publishing, see how to access the production environment and set the connection by clicking here.
# Advanced Publishing
If you choose advanced publishing, you should pay attention to the following questions:
Create a publication template (this will make it easier for future publications).
As in typical publication, the next step is to define the operating system and the initial application that will be Sign in.
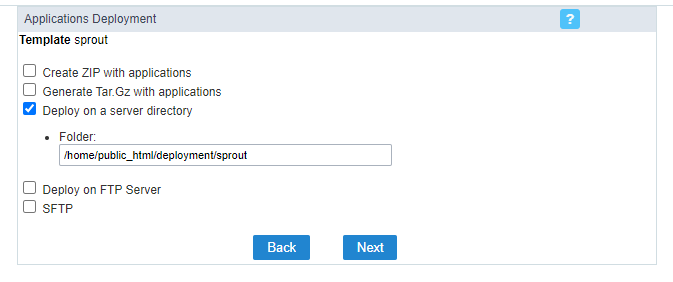
However, as mentioned above, advanced publishing allows you to explicitly configure the production, image, temporary files and documents directories.
If you already have a production environment, just inform the directory of folders requested by Scriptcase. For a first publication or a new directory, it is necessary to download the production environment through Scriptcase (opens new window).
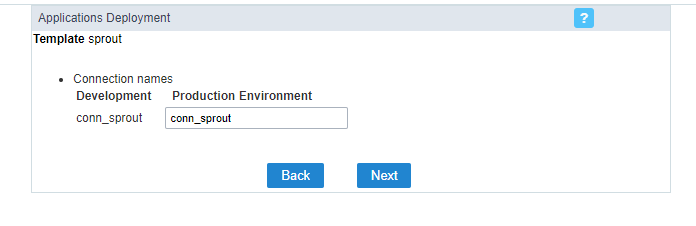
The next step is to define what this connection will be called in the production environment.
Finally you must enter the publishing directory.
After publishing, see how to access the production environment and set the connection by clicking here.
# Production Environment
After publishing, go to the production environment to define your project's connection.
If you have done the typical publication, access it through the browser informing the publication path with _lib/prod.
Example: https://www.mydomain.com/_lib/prod/
During the first access it is necessary to define a new password. The default password is scriptcase.
In the production environment, access the option Create new connection and select MySQL/MariaDB.
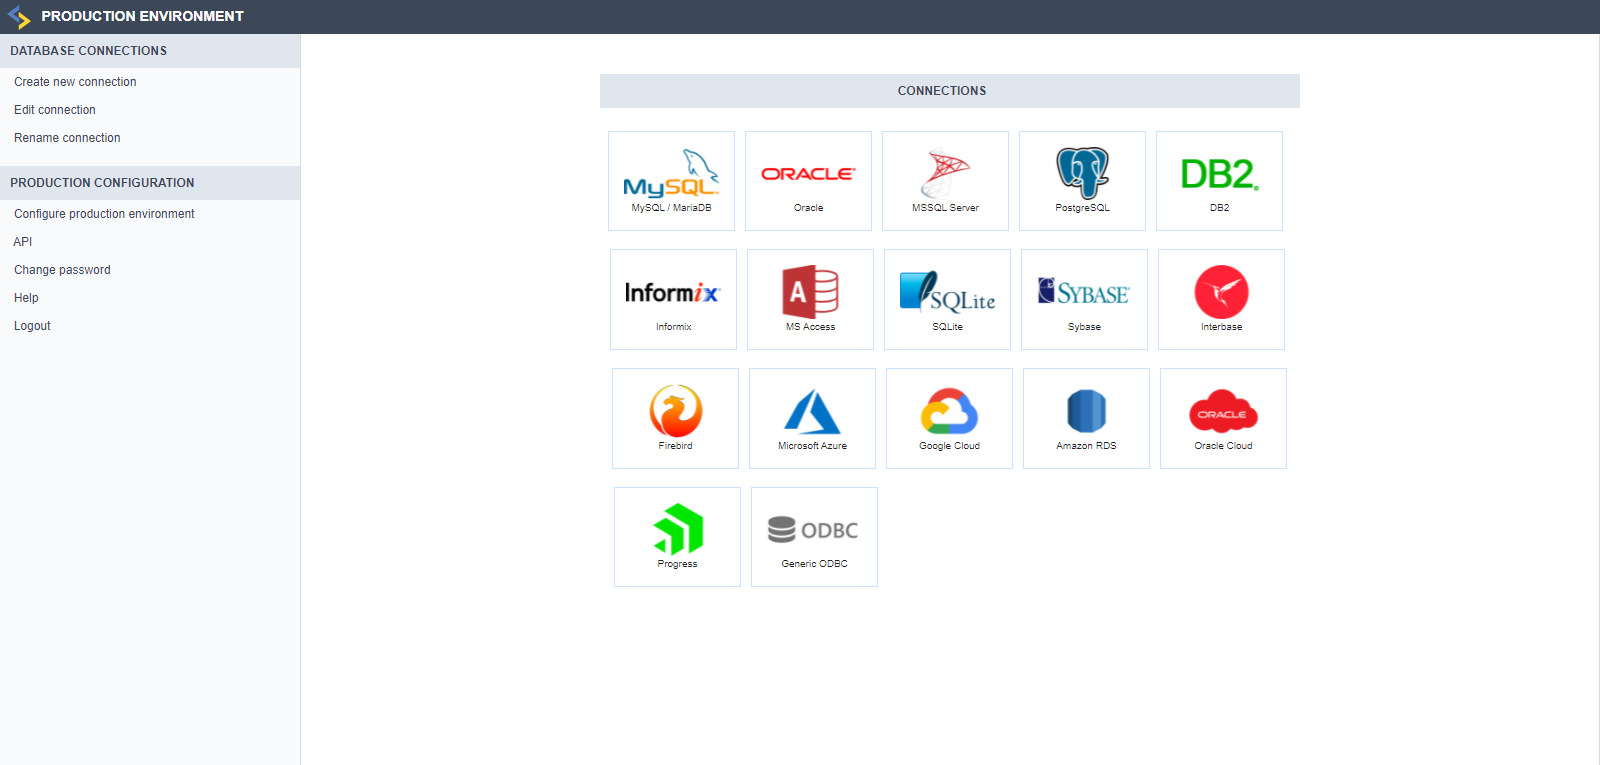
Create a connection with the name defined during advanced publishing. If the publication was done in a typical way, create a connection with the same name defined in the project.
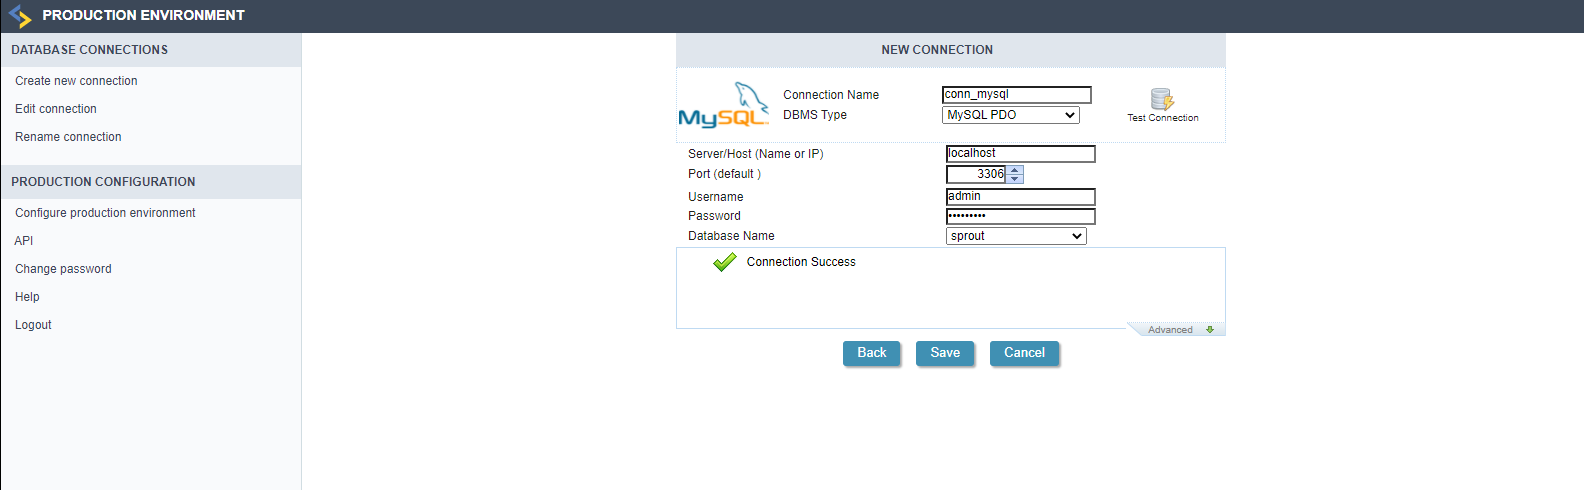
By default, Sprout has the conn_sprout connection.
Finally, access the published project through the browser.
← Customization Login →